This is the short version of everything. Each step links to the article that covers it properly.
1. Build the assessment
From your assessments, choose Create Assessment. You are asked how you want to start.
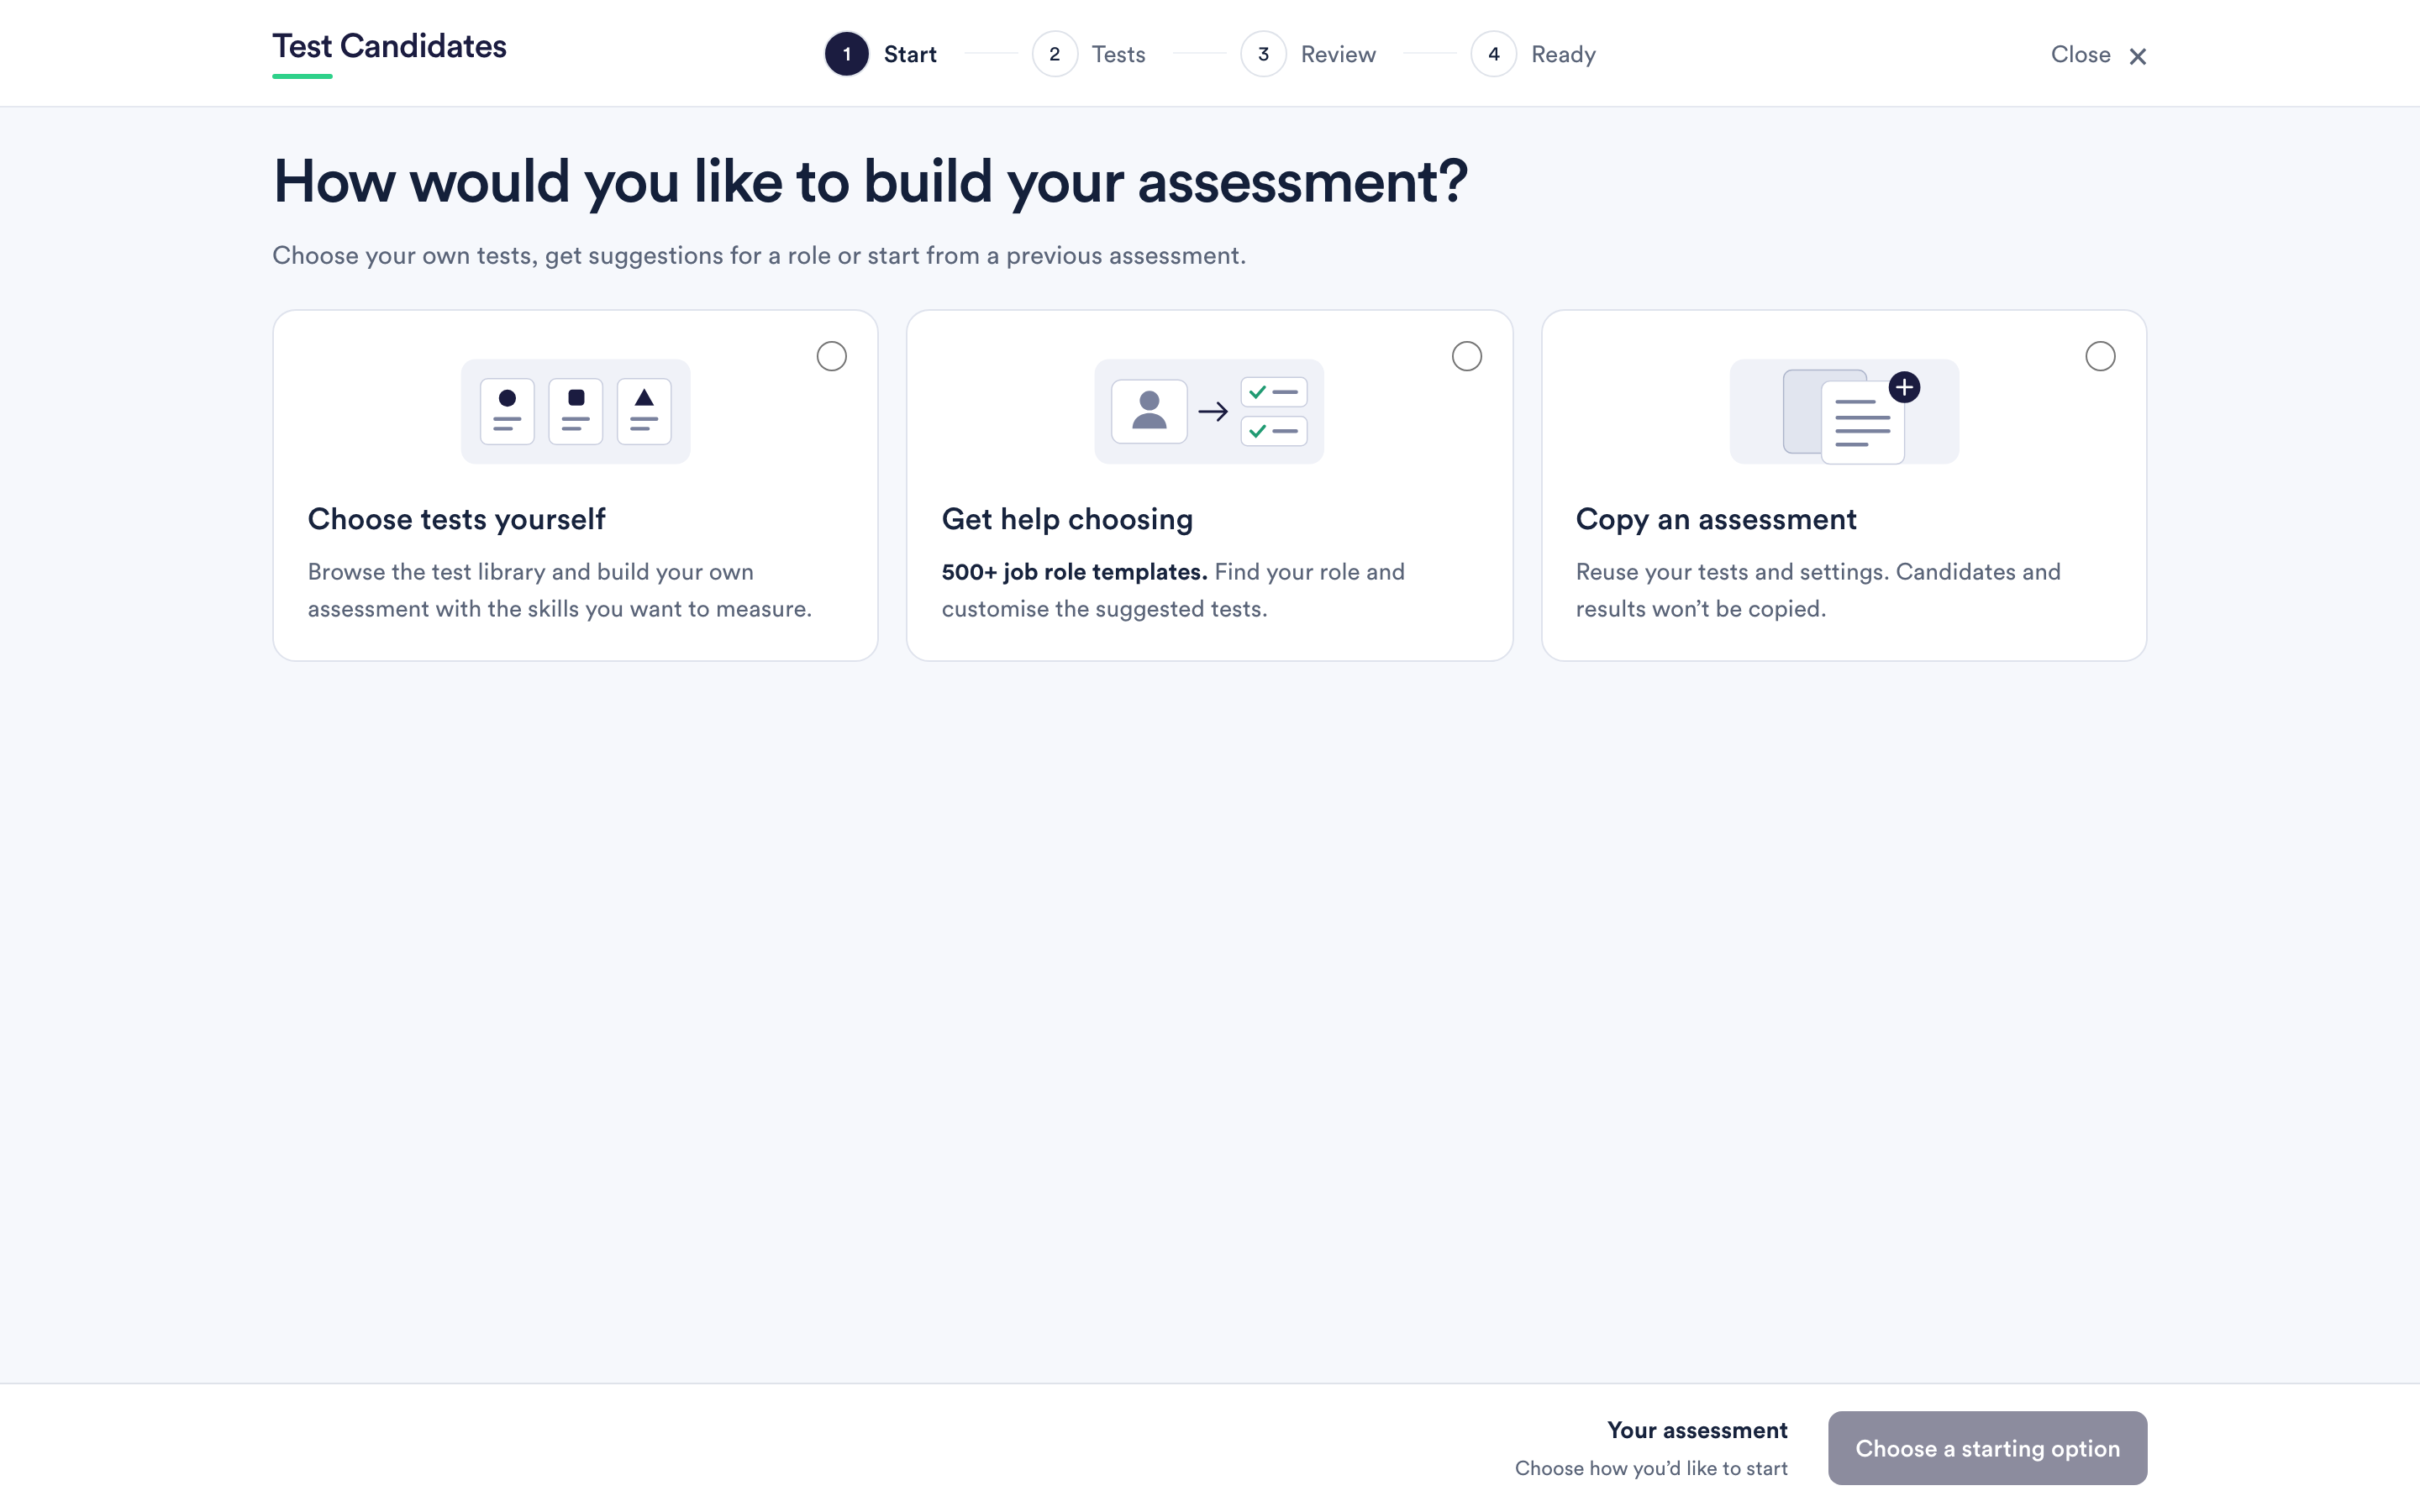
If you know what you want to measure, choose your own tests. If you do not, start from a job role template and adjust what it suggests. Copying an earlier assessment is the quickest route once you have one worth reusing.
See create an assessment and start from a job role template.
2. Choose the tests
Search the library, filter by type and difficulty, and add tests to your assessment. The builder keeps a running total of how long candidates will spend.
Fewer is better. Most assessments are stronger with a small number of tests that each answer a different question about the role. See how many tests to include.
3. Review, and change the settings if you need to
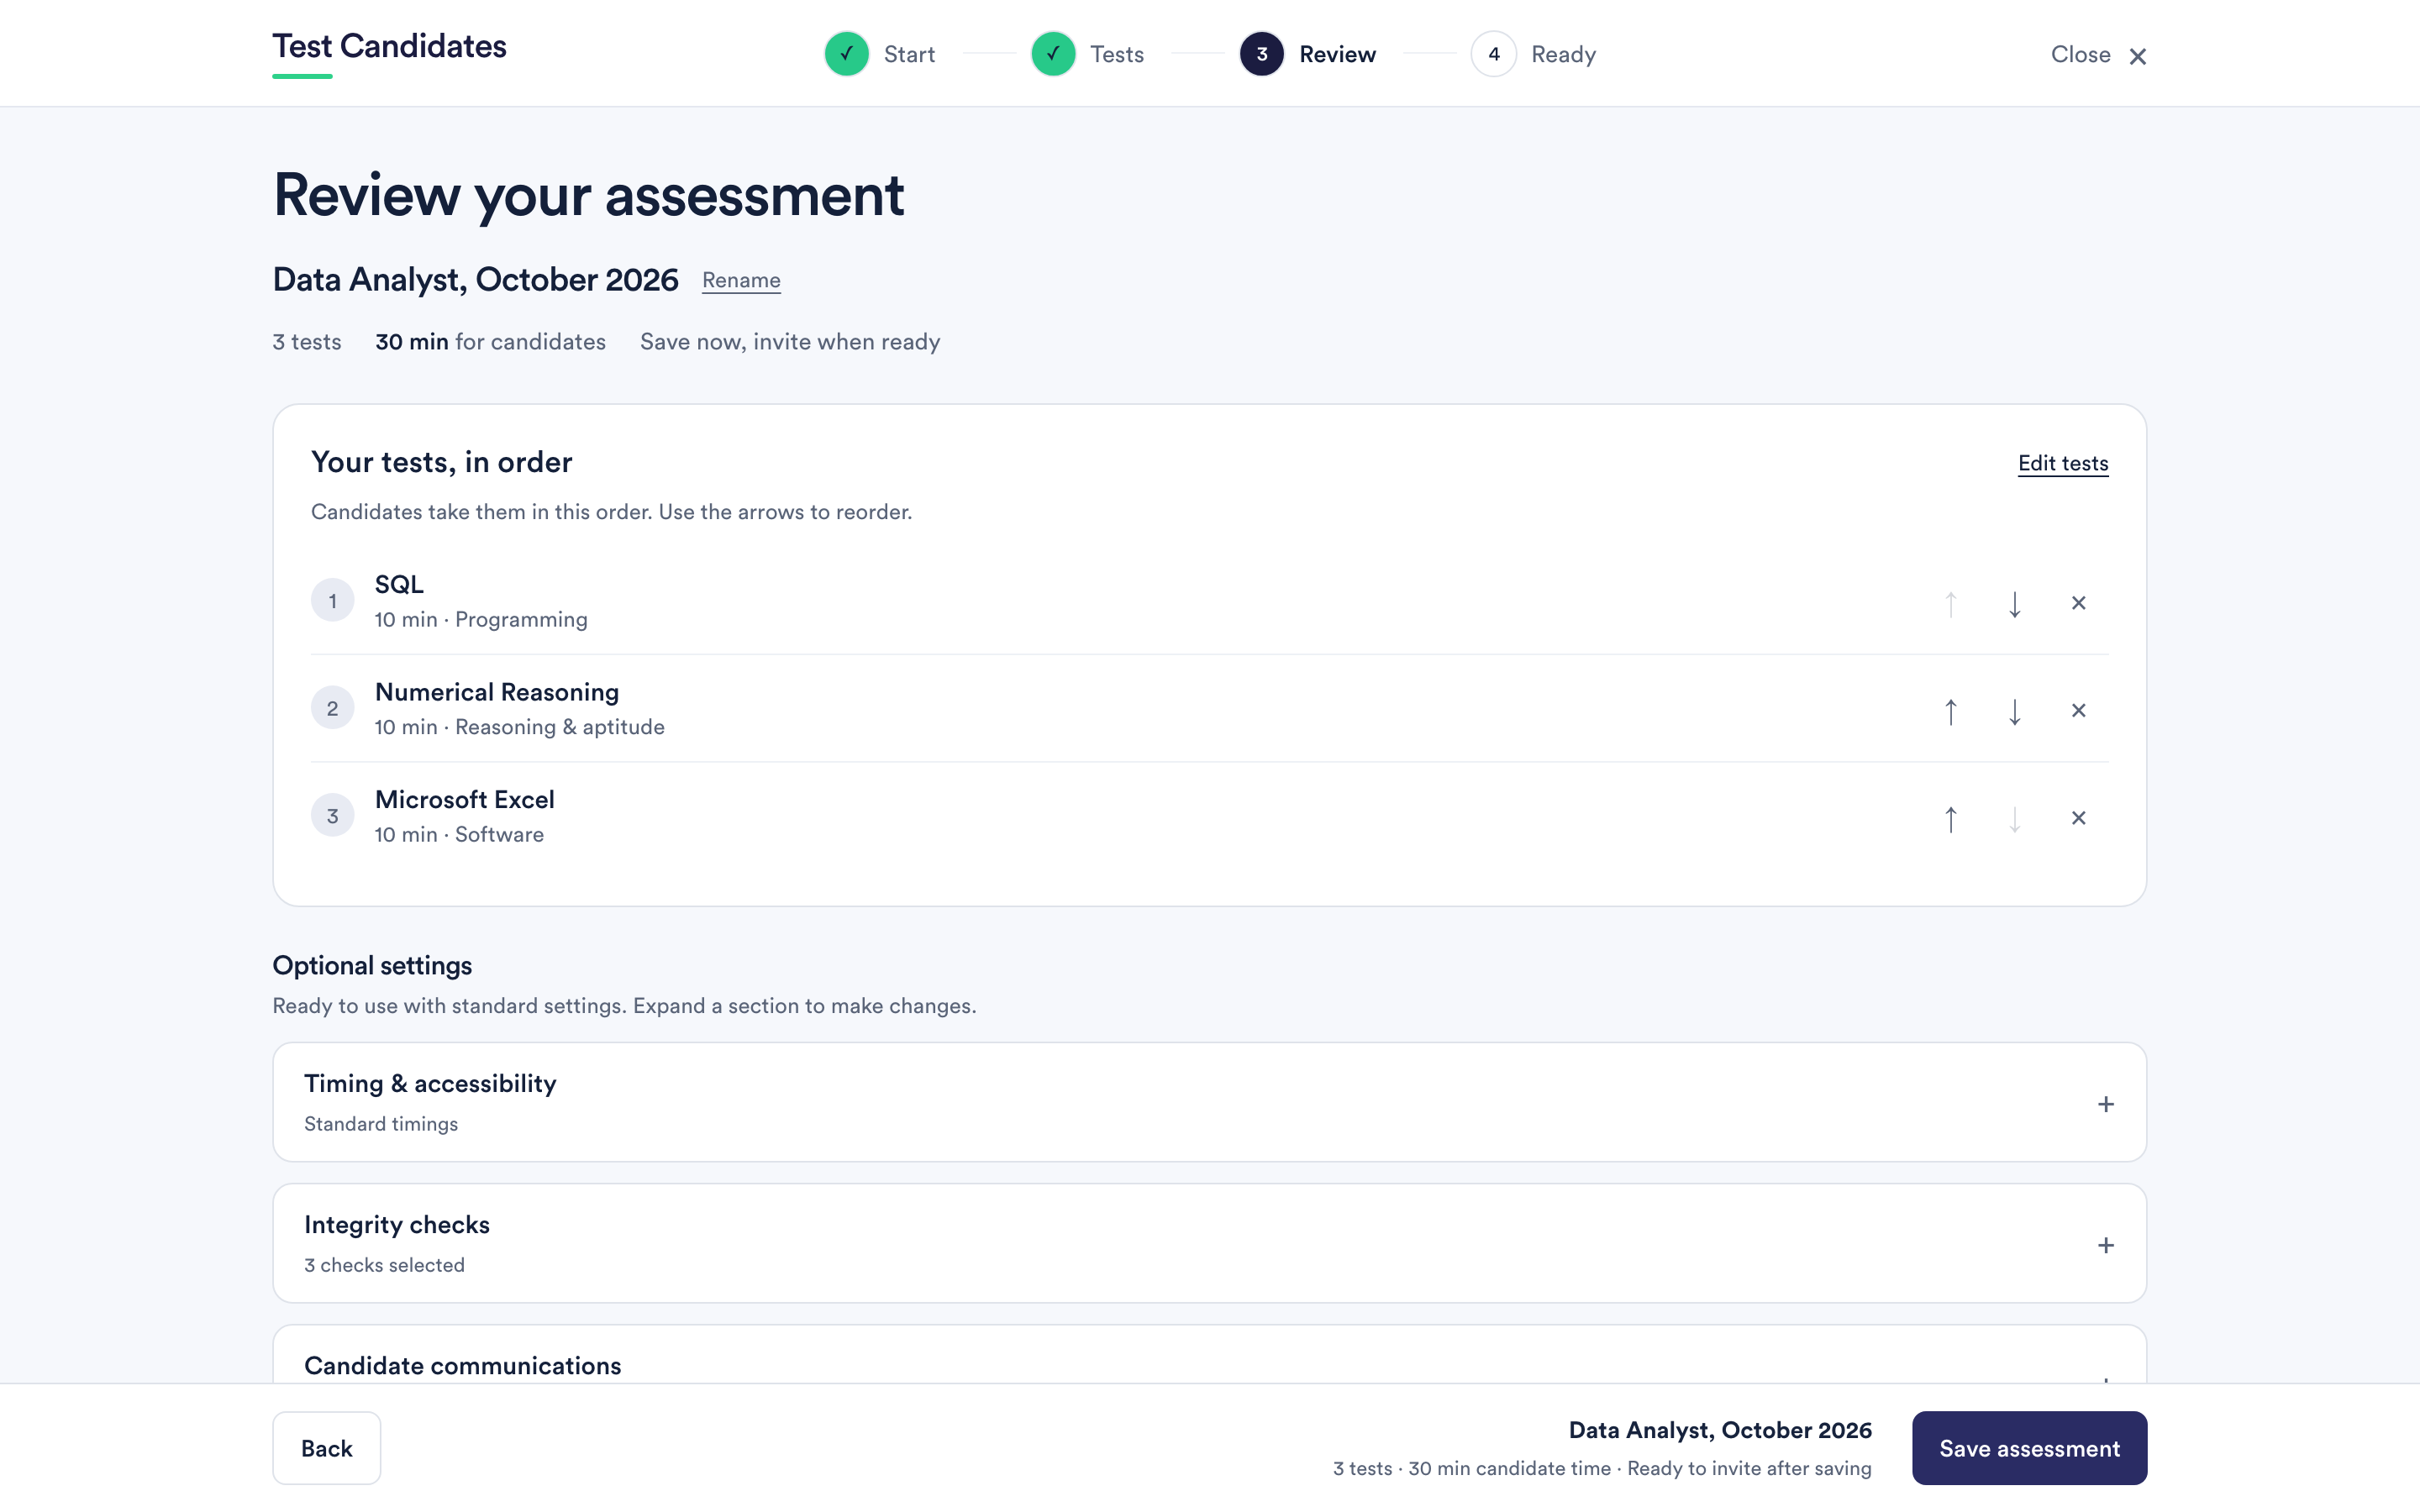
On Review you can rename the assessment, reorder the tests and open Optional settings. You can save without touching any of them. The settings worth knowing about are extra time, integrity checks, deadlines and reminders, and whether candidates hear their results.
4. Invite candidates
Two routes. Share the assessment link wherever you advertise, or email named people individually. You can do both on the same assessment.
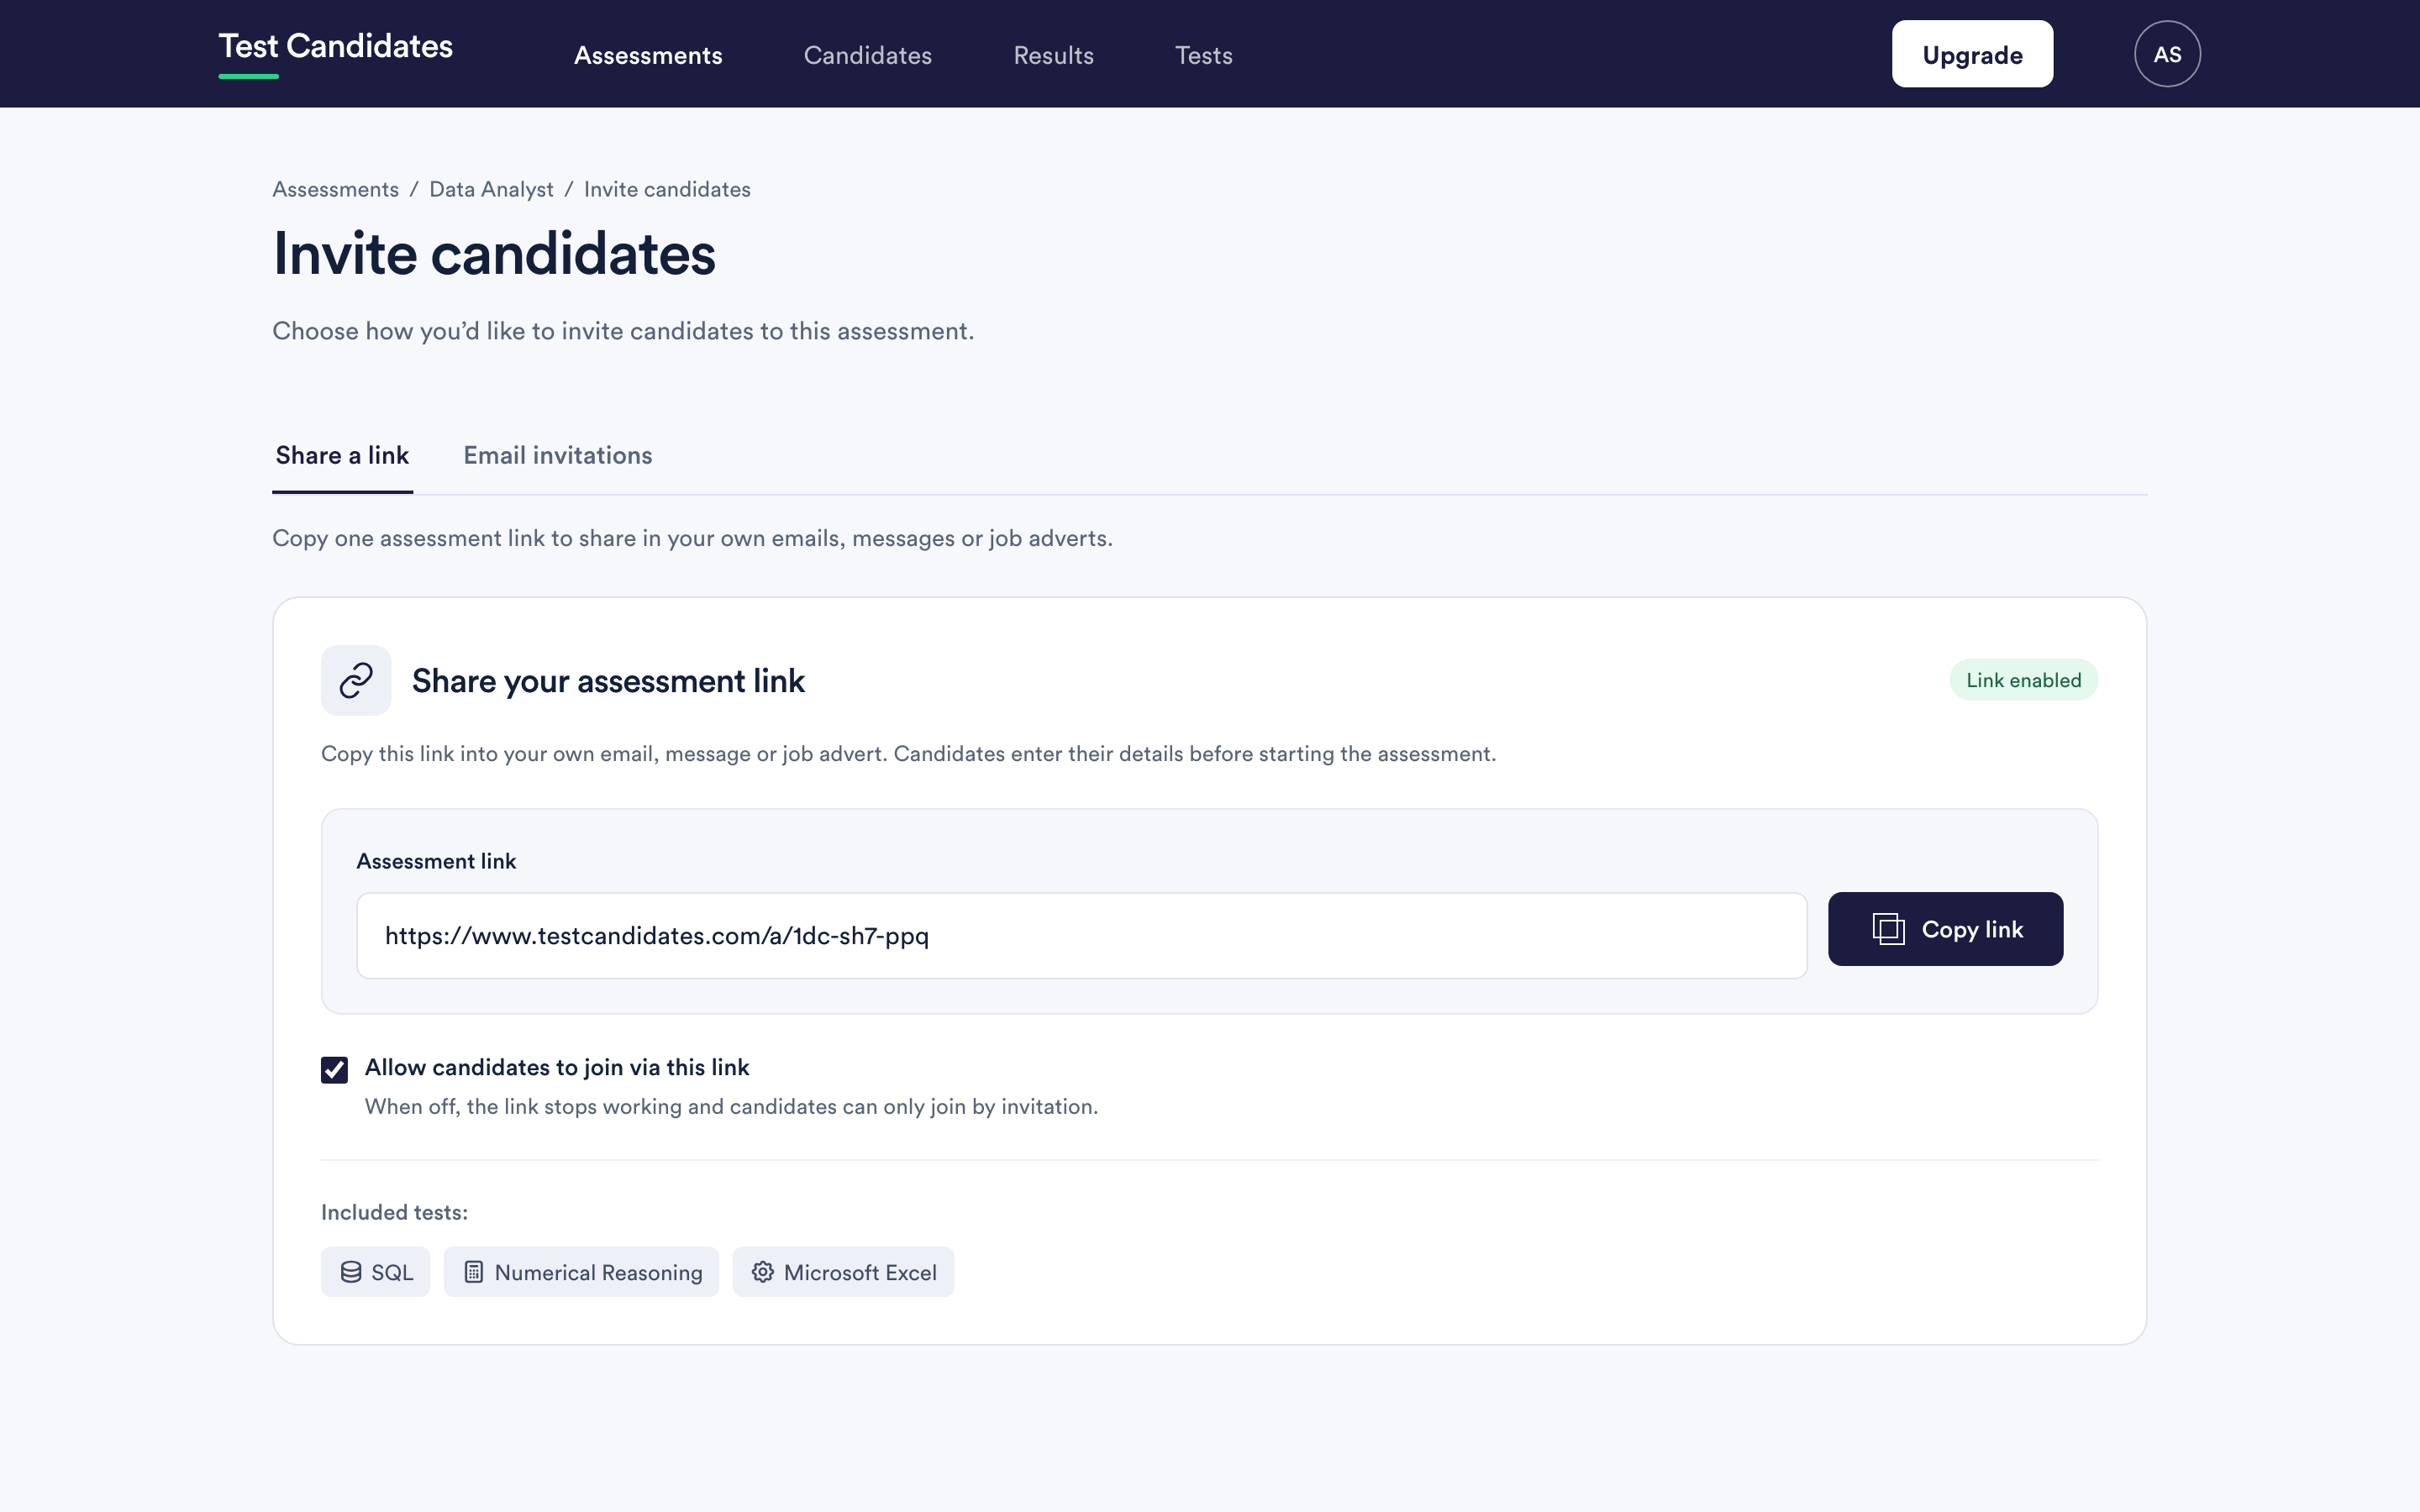
See share your assessment link and invite candidates by email.
5. Watch results come in
Candidates appear on the assessment as soon as they register, before they have taken anything. Progress shows as each test is submitted.
6. Read the results
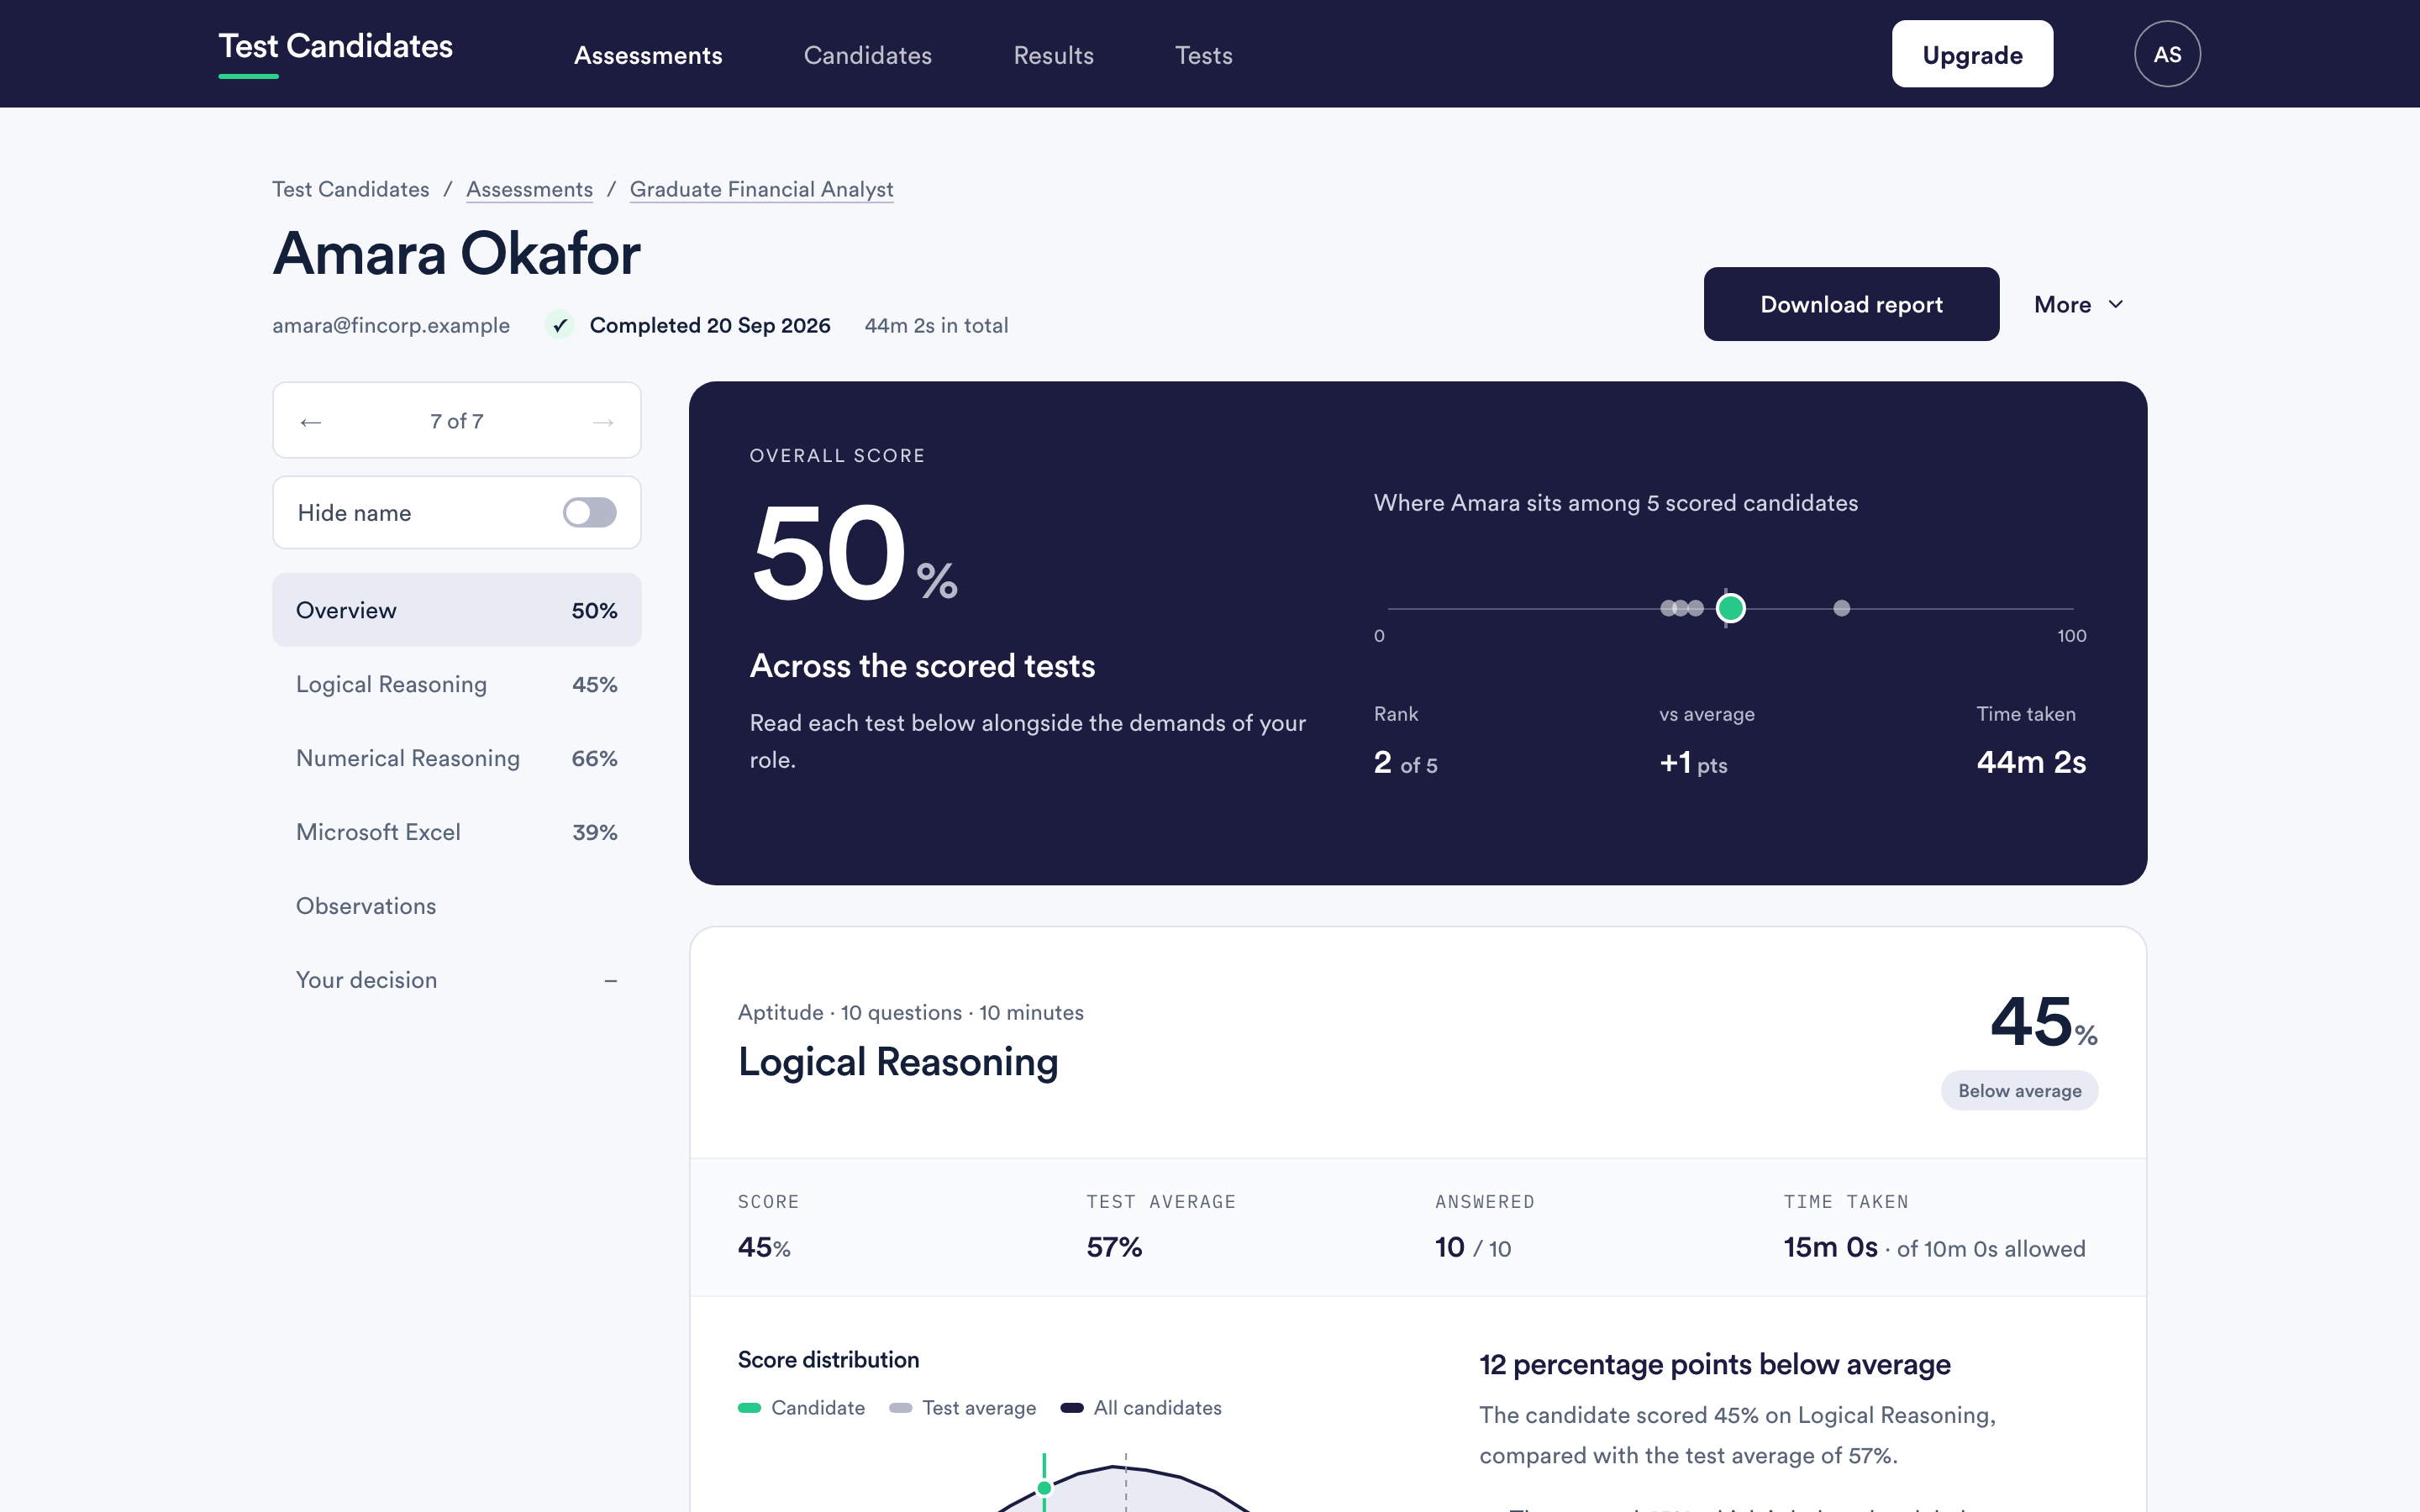
Results appear on the assessment and under Results shortly after each test is submitted. Open a candidate to read their report: the overall score, each test, every answer in order, and where they sit against the other people who took the same assessment.
7. Decide, and record your reasoning
Mark each candidate shortlisted, on hold, declined or undecided, and leave a note for your colleagues. The decision and the note are shared with colleagues who can see the assessment, and never with the candidate. See record a decision and a team note.
What a first assessment costs to run
Your first candidates are free. After that you either draw on a prepaid balance or pay as you go per candidate. Nothing is charged for a candidate who never completes a test. See how pricing works.