Your whole hiring team can work in the same workspace. There are no seat limits and no per-user charge, so adding someone costs nothing. One workspace pays for everyone.
Adding someone
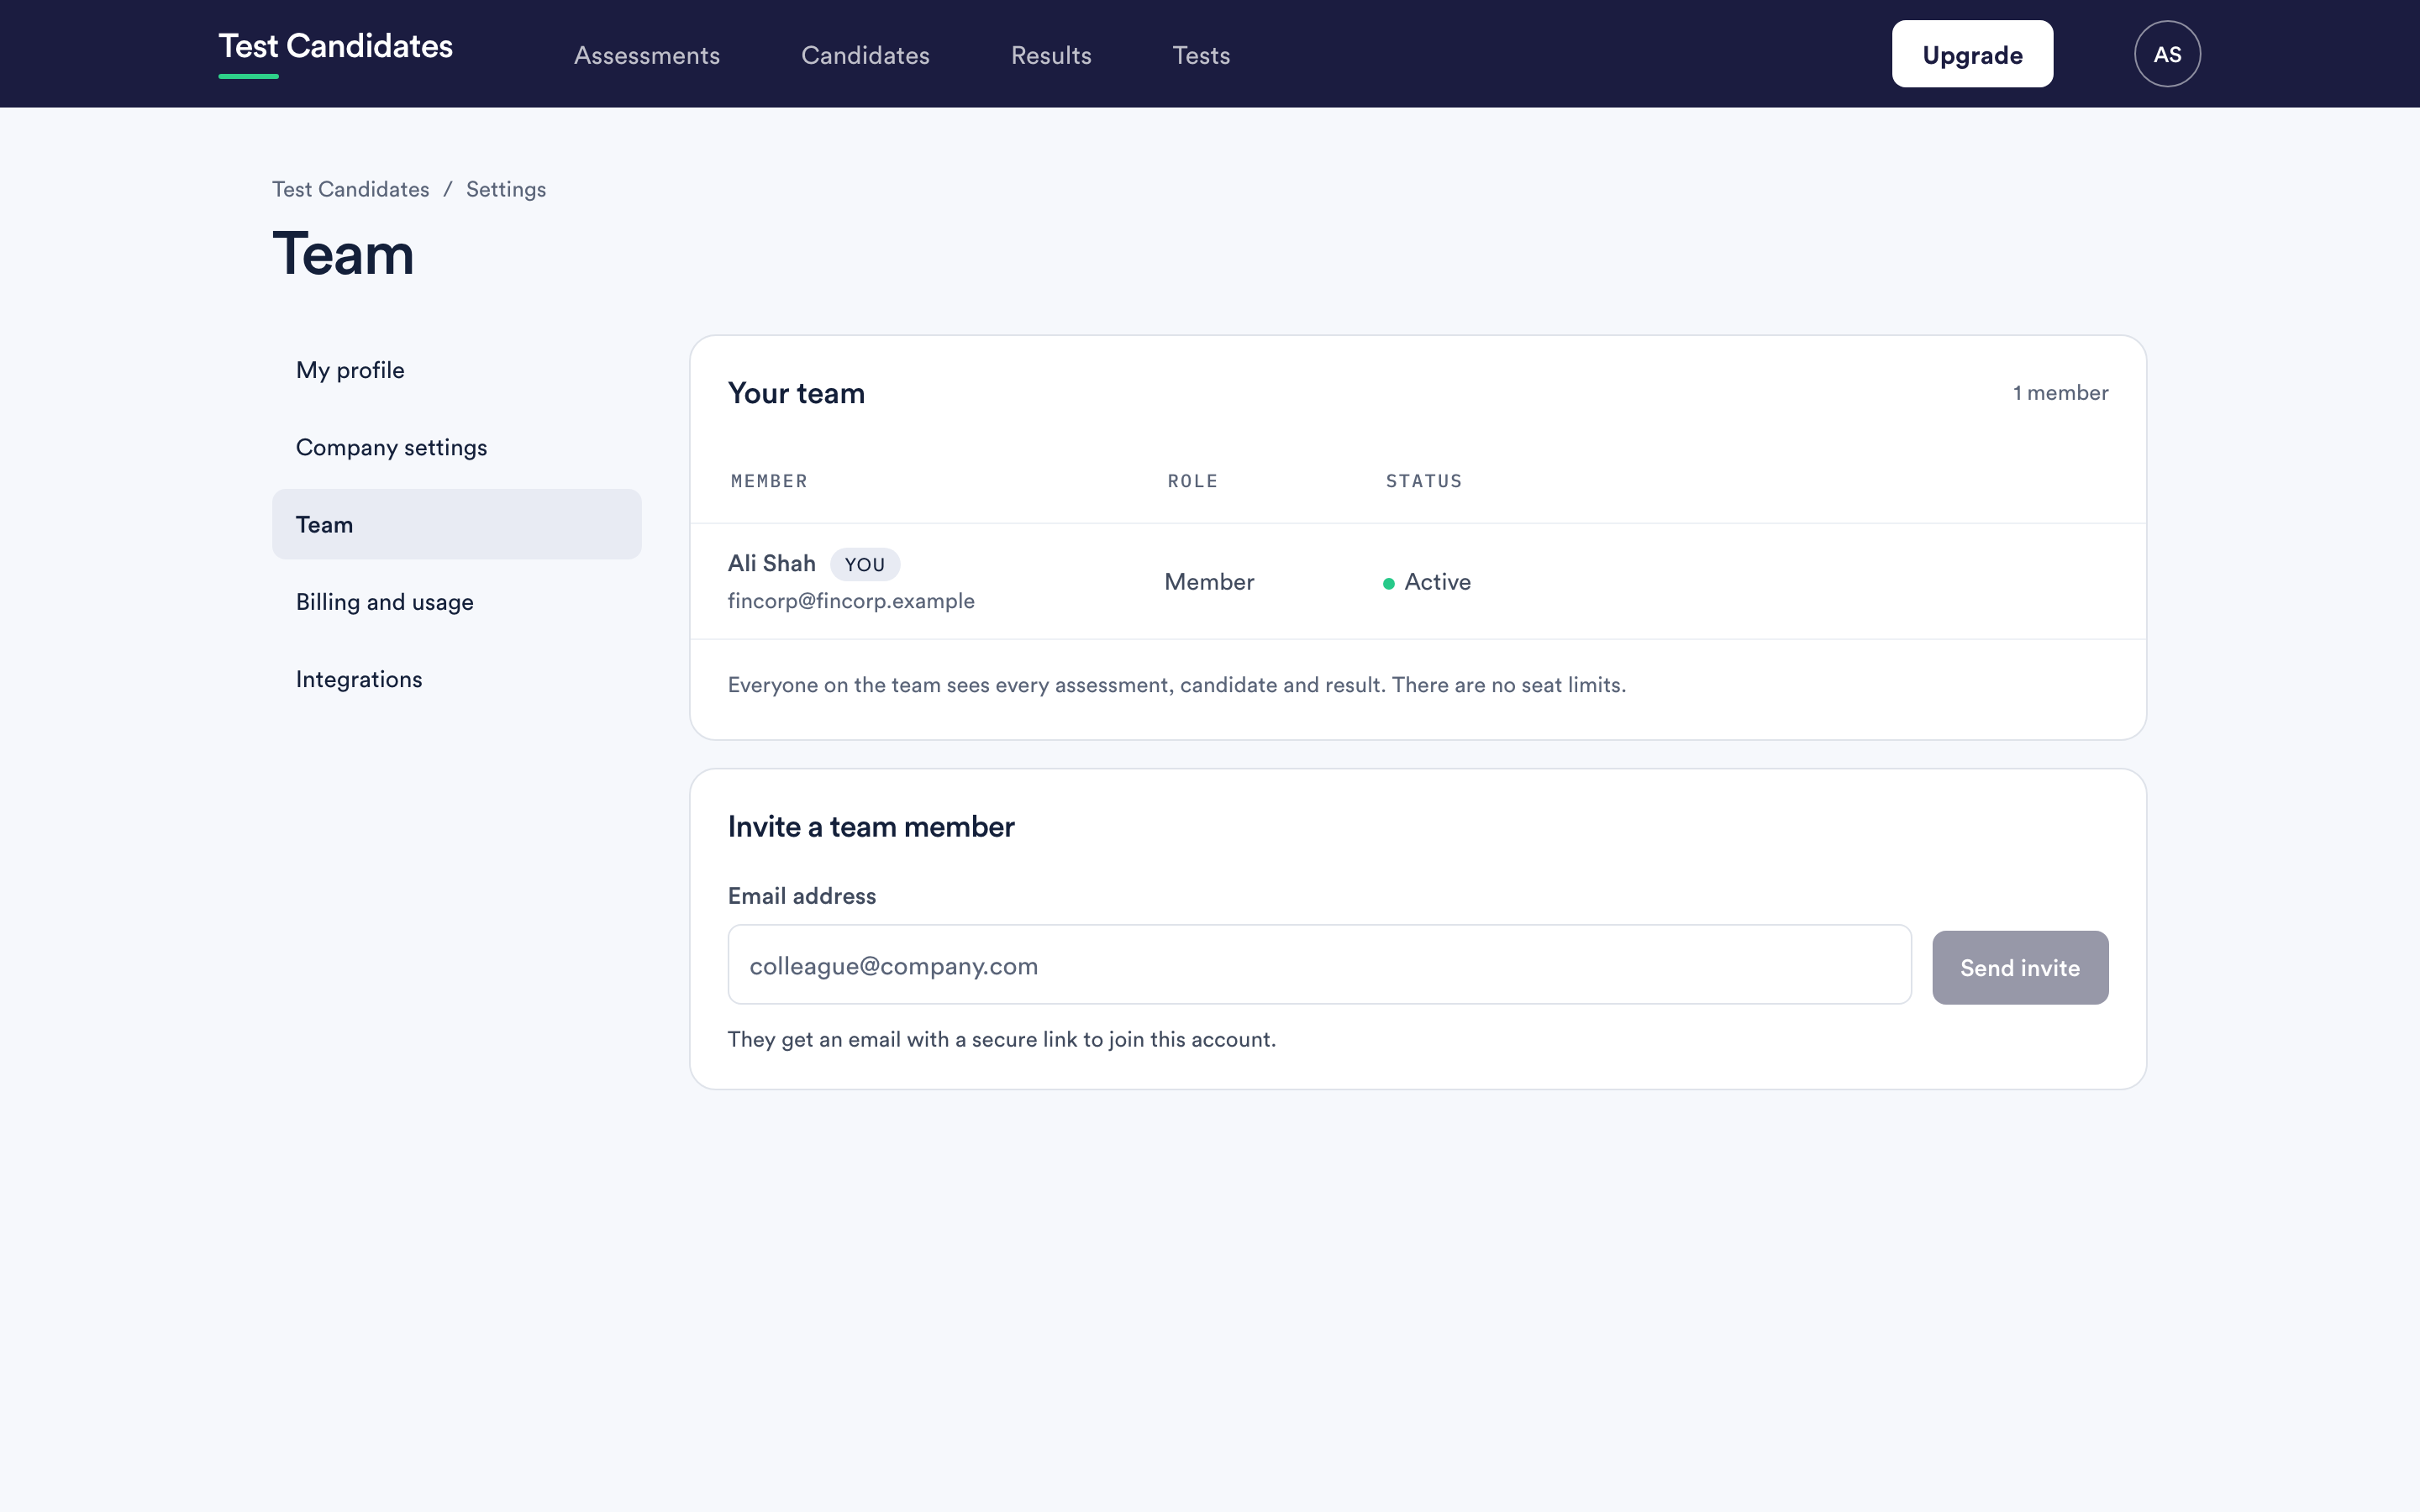
You need to be an admin. Go to the account menu, then People. Enter their email address, choose their role and, if you use teams, their teams. Then send the invite.
They get an email with a secure link that brings them straight into your workspace. They do not need an account first and they do not choose a password.
Choosing a role
- Admin can also manage billing, the API key and the integrations, invite and remove people, and make teams.
- Member can create assessments, invite candidates, and review and export results. This is the default.
The role decides what someone can do. Their teams decide what they see: All teams, or only the teams you pick. See what admins and members can see and use teams to split up your workspace.
Who should be in your workspace
The people who build assessments and read reports. Hiring managers who only ever see one shortlist are often better served by a downloaded report, which you can send them without adding them at all.
Notifications are personal
Each person chooses their own email notifications: when a candidate completes an assessment, when someone registers, a weekly summary, and product updates. Adding someone does not subscribe them to your settings. Emails about candidates only go to people who can see that assessment. See email notifications.
Removing someone
Only an admin can remove someone. Removing a person ends their access. Work they did stays in the workspace: assessments they built, decisions they recorded and notes they left are all kept. See add and remove people.